

We were recently working with a leading international voice carrier firm headquartered in US, which wanted to build a Data Warehouse on Google BigQuery.
We were provided with 40 gzipped CSV files with most of them sized ~25GB and few of them around 110GB.
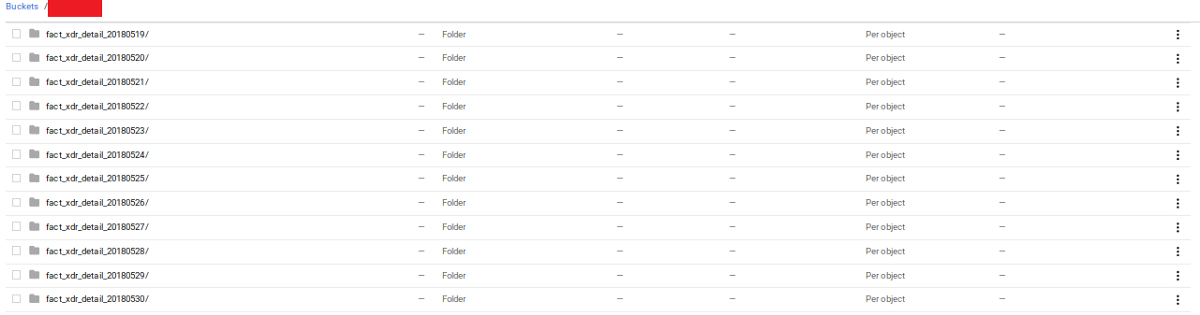
A snapshot of the CSV files. The catch, here, was the maximum compressed CSV file that can be loaded to BigQuery (even from Cloud Storage) is 4GB. So we were left with two alternatives :
- Either spin up few huge VMs and unzip the files (and render all the days-worth-of-zipping obsolete ) and store it back to Google Cloud Storage.
- Or convert the files to Parquet format.
Option 1 is a costlier and laborious way-through. Unzipping data this volume requires lot of compute power (which means money), you have to figure out using multiple cores to speed up unzip, deal with possible interruptions and resume etc.
On the contrary, Apache Parquet is columnar storage file format and designed to bring efficient columnar storage of data compared to row based files like CSV. Hive supports creating external tables pointing to gzipped files and its relatively easy to convert these external tables to Parquet and load it to Google Cloud Storage bucket. This post explains the steps using a test dataset.
Here we go —
- Create an external table in Hive pointing to your existing zipped CSV file.
- Create another Hive table in parquet format
- Insert overwrite parquet table with Hive table
- Put all the above queries in a script and submit as a job
Let’s get our hands dirty!
- Make a folder in your bucket named ‘bike-sharing-test-data’.
- This is a public link of a small dataset that we will use for this tutorial. Go to the link and click on Download>Direct Download button in the upper right corner of the screen.
- Upload the file to the recently created folder. The final URI would be gs://
/bike-sharing-test-data/metro-bike-share-trip-data.csv.gz
The script that we will deploy is shown below:
Now, we need to upload the script to GCS :
- Copy the script into a SQL file and replace the bucket name(manan-testing) in ‘location’ with your bucket’s name at two places in the script.
- Upload the script anywhere outside the folder bike-sharing-test-data.
Now we have our data and script ready, let’s spin a cluster.
We will provision a Dataproc cluster consisting of preemptible and non-preemptible VMs with scheduled deletion feature.
When and How to use preemptible VMs in Dataproc?
- One can use preemptible instances to lower per-hour compute costs or to create very large clusters at a lower total cost.
- All preemptible instances added to a cluster use the machine type of the cluster’s non-preemptible worker nodes.
What will happen to the stored data if my preemptible VMs are reclaimed back?
Don’t worry. Preemptibles added to a Cloud Dataproc cluster only function as processing nodes, and does not store any data( The disk space is used for local caching of data and is not available through HDFS)
Regarding scheduled deletion property, we cannot spin up clusters with scheduled deletion property via web UI(as of Sep’18 ).Hence, we will use gcloud command line tool to accomplish this. Furthermore, you can configure the scheduled deletion based on 3 parameters namely:
- Maximum cluster idle time
- At a specific Timestamp
- Maximum age of the cluster (if 2 days, it will auto-delete 2 days after the cluster was created)
When we were processing relatively bigger files for our use case, we realised that conversion to parquet is a RAM intensive process. Hence, we chose n1-highmem-4 as the worker machine type for our use case. But for the sake of this tutorial we can set n1-standard-1 as the worker’s as well as master’s machine type. We have configured our cluster to have maximum idle time to be 30 min following which it will self destruct. You can read more about scheduled deletion here.
Fire up Cloud shell and run the following command to launch a Dataproc cluster with scheduled deletion property:
You should have Dataproc cluster up and running (You can go to Big Data > Dataproc > Clusters to check the status)
Submitting a job via Web UI:
- Navigate to the script you stored in the bucket.
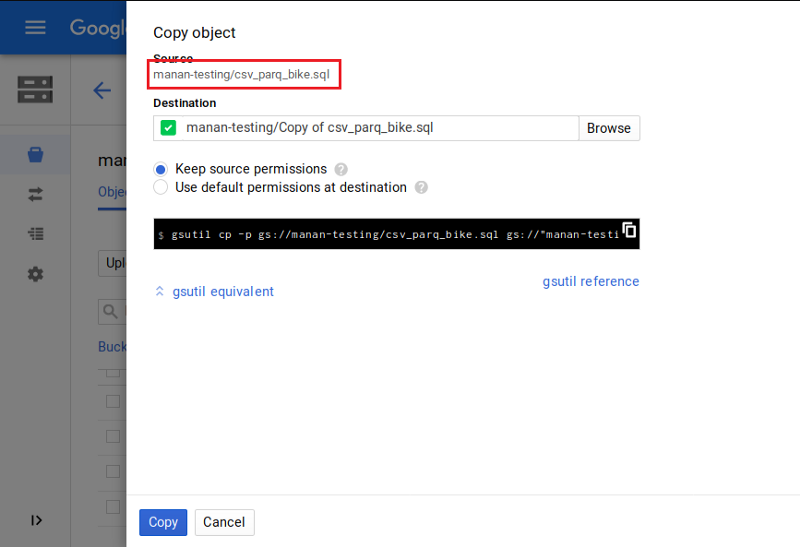
- Click the more options button (three vertical dots) associated with the script.
- Click Copy and copy the line under Source.
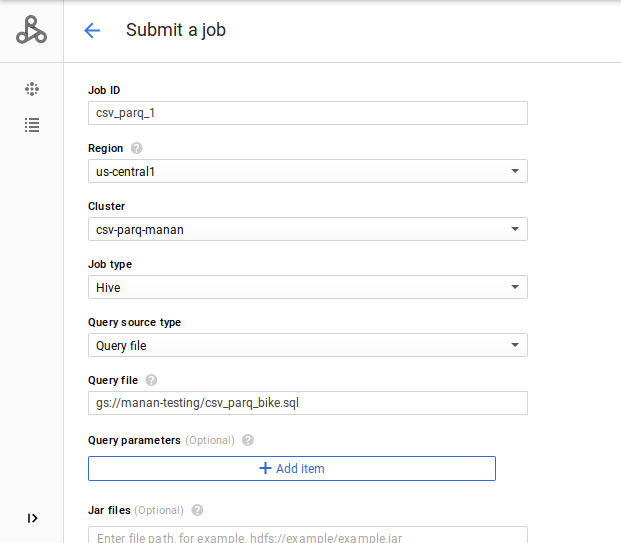
Then, head over to Big Data -> Dataproc -> Jobs and click on Submit Job.
- Set Job ID and select Region as us-central1
- Set Cluster as ‘csv-parq-hive’
- Set Job type as Hive
- Select Query Source type as Query file and paste the location of the file along with the prefix “gs://” in the textbox under Query file.It’ll look similar to the following screenshot:
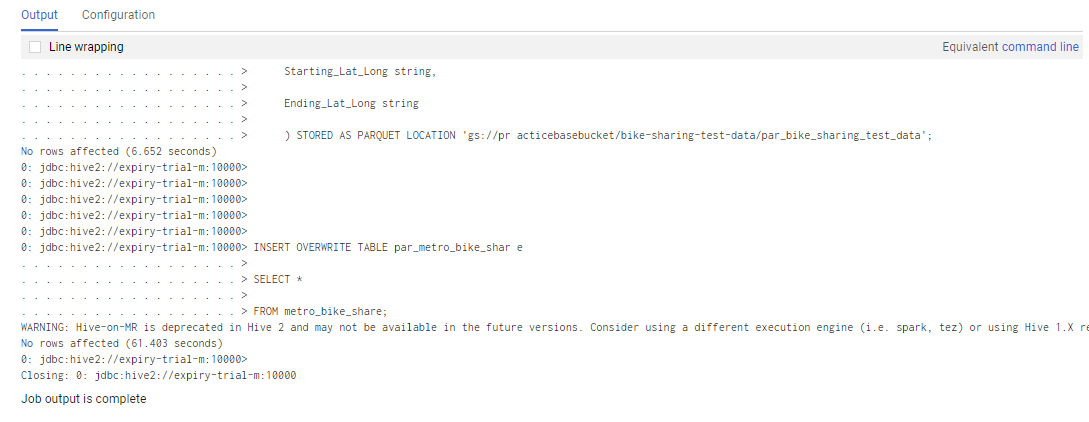
You can click on the job name for the details. A successful run would look something like this.
After the job is completed, you can flicker back to your bucket to see the output. Click Refresh Bucket and head over to ‘gs://
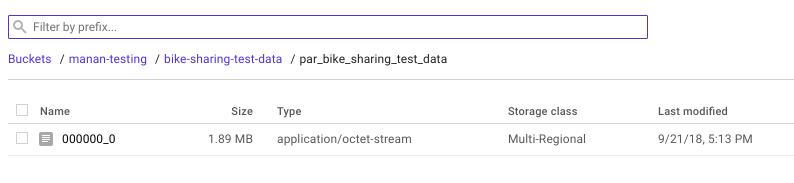
Now we’ll head towards the final ‘cherry-on-top’ step and load the parquet file into Google Bigquery:
- Go to Bigquery and click Create Table.
- Select Google cloud storage as source and paste the location of the parquet file generated (‘…/00000_0’).
- Select Parquet as File Format.
- Give the table name under Destination Table and click Create Table.
You don’t need to specify the schema when loading Parquet file because it is a self-describing data format which embeds the schema, or structure, within the data itself.
A huge shout-out to RK Kuppala for providing the crucial guidance and support along the way.
Voila! Hope this post helped you :)